Looking to transform your concrete floor into a durable and comfortable surface? Rubber flooring offers the perfect solution with its shock-absorbing properties resilient nature and easy maintenance. Whether you’re upgrading your home gym garage or commercial space rubber flooring can dramatically enhance both functionality and comfort.
Installing rubber flooring on concrete might seem daunting but with the right preparation and tools you’ll find it’s a manageable DIY project. You’ll need to ensure your concrete surface is clean dry and level before beginning the installation process. This guide will walk you through every step making the process straightforward and achievable even if you’re new to flooring projects.
Key Takeaways
- Installing rubber flooring on concrete requires thorough surface preparation, including cleaning, moisture testing, and repairing any cracks to ensure optimal adhesion
- Essential tools include a moisture meter, polyurethane adhesive, notched trowel, heavy roller, and safety equipment for a successful installation
- The concrete surface must have less than 3% moisture content and a pH level between 7-9 to prevent adhesion issues and ensure longevity
- Proper adhesive application and precise tile alignment from the centre outward are crucial for professional-looking results
- Regular maintenance, including daily sweeping, weekly mopping, and annual edge resealing, helps extend the rubber flooring’s 15-20 year lifespan
- Rubber flooring offers significant benefits like shock absorption, noise reduction, and temperature insulation whilst requiring 30% less maintenance than traditional flooring
Benefits of Rubber Flooring for Concrete Surfaces
Rubber flooring transforms concrete surfaces into versatile spaces with enhanced functionality. Its unique properties create a perfect balance between practicality and comfort.
Durability and Safety Features
Rubber flooring delivers exceptional durability on concrete surfaces through multiple protective features:
- Shock absorption reduces impact stress on joints during physical activities
- Slip-resistant surface texture maintains grip in wet or dry conditions
- Impact resistance prevents damage from dropped weights or heavy equipment
- Sound dampening properties decrease noise levels by up to 15 decibels
- Temperature insulation protects against cold concrete underneath
- Chemical resistance guards against oils, cleaners & common substances
| Safety Feature | Benefit |
|---|---|
| Shock Absorption | Up to 30% impact reduction |
| Slip Resistance | 0.6 coefficient of friction |
| Sound Reduction | 15dB noise decrease |
| Temperature Control | 5-8°C warmer than concrete |
- 15-20 year lifespan with proper maintenance
- Minimal cleaning requirements using standard equipment
- No need for special coatings or treatments
- Reduced repair costs due to damage resistance
- Lower replacement frequency compared to vinyl or carpet
- Energy savings from improved insulation properties
| Cost Factor | Savings Impact |
|---|---|
| Lifespan | 15-20 years |
| Maintenance Cost | 30% less than traditional flooring |
| Energy Efficiency | 10-15% reduction in heating costs |
| Replacement Cycle | 2-3x longer than conventional options |
Essential Tools and Materials

Installing rubber flooring on concrete requires specific equipment for proper surface preparation and precise installation. A comprehensive collection of tools and materials ensures a professional-quality result.
Surface Preparation Equipment
- Electric floor grinder with diamond segments for removing old coatings
- Industrial vacuum cleaner for dust collection
- Moisture meter to test concrete dampness levels
- Floor scraper for removing adhesive residue
- Concrete patching compound for filling cracks
- Trowel set for applying patch material
- Clean push broom for debris removal
- pH testing kit for concrete surface analysis
- Safety equipment:
- Dust mask
- Safety goggles
- Heavy-duty gloves
- Knee pads
- Polyurethane adhesive compatible with rubber flooring
- Notched trowel (1.5mm x 1.5mm) for adhesive application
- Measuring tape for space calculations
- Straight edge ruler (minimum 1 metre length)
- Utility knife with spare blades
- Chalk line for marking installation guides
- Heavy roller (45-70kg) for compression
- Rubber mallet for edge adjustment
- Cleaning supplies:
- Microfibre cloths
- pH-neutral cleaner
- Clean buckets
- Paint scraper for adhesive cleanup
- Transition strips for doorways
- Double-sided tape for temporary positioning
Preparing the Concrete Surface

Proper surface preparation ensures optimal adhesion between rubber flooring and concrete. This critical step determines the longevity and performance of your rubber flooring installation.
Cleaning and Moisture Testing
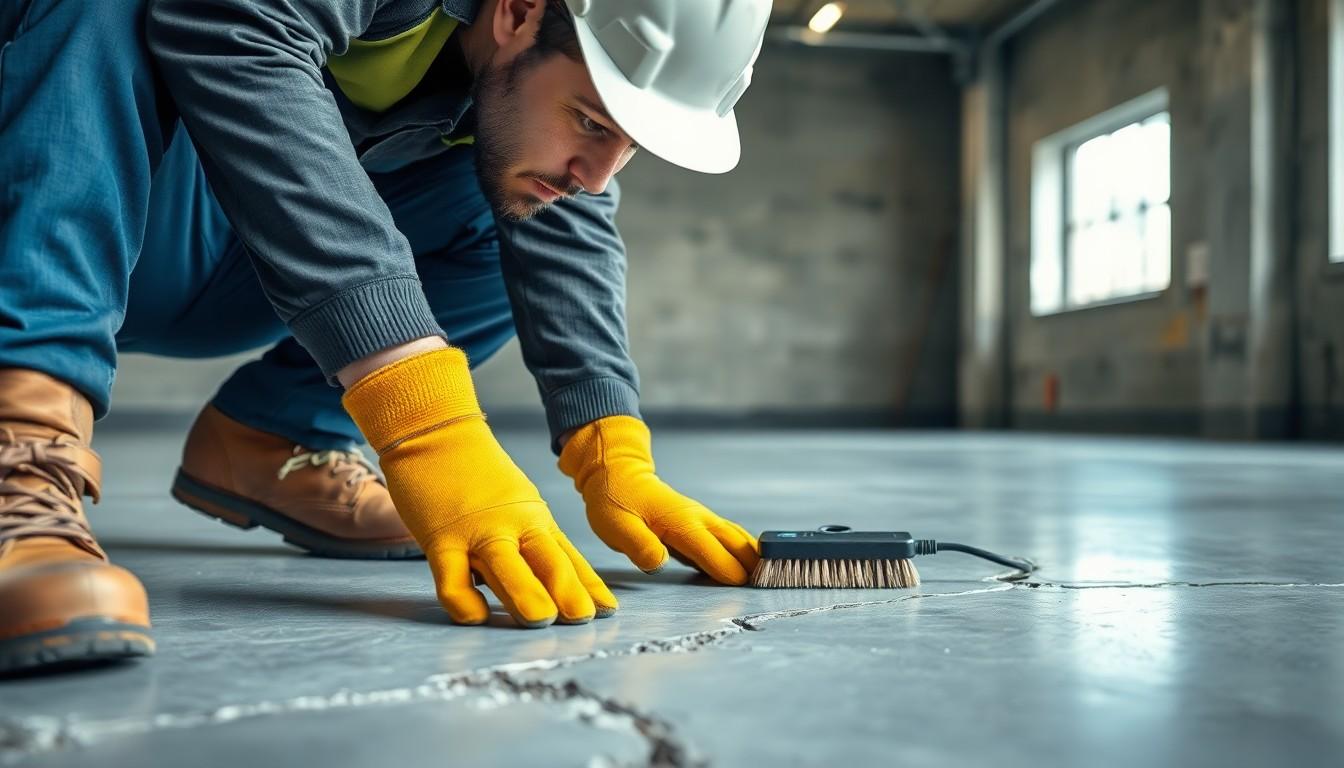
Start with a thorough inspection of the concrete surface using a moisture meter to measure moisture content. The moisture level must remain below 3% to prevent adhesion issues. Remove all debris, dust and contaminants through these steps:
- Sweep the entire surface with a stiff-bristled brush
- Scrub stubborn stains with a degreasing solution
- Vacuum loose particles with an industrial vacuum
- Test pH levels using pH strips (ideal range: 7-9)
- Conduct calcium chloride testing for moisture emissions
Repairing Cracks and Levelling
Address surface imperfections to create a smooth foundation for the rubber flooring installation. Follow these repair procedures:
- Fill cracks wider than 3mm with epoxy filler
- Remove loose concrete fragments along crack edges
- Apply self-levelling compound to uneven areas
- Sand down high spots using a floor grinder
- Test surface flatness with a 3m straight edge
| Surface Condition | Acceptable Tolerance |
|---|---|
| Height Variation | Max 3mm per 3m span |
| Crack Width | Less than 3mm |
| Moisture Content | Below 3% |
| pH Level | 7-9 |
Leave the prepared surface untouched for 24 hours before installation to ensure complete drying of repair materials. Cover the area to prevent contamination from foot traffic or debris.
Installing Rubber Flooring
Rubber flooring installation requires precise execution to ensure long-lasting results. Follow these systematic steps to achieve professional-quality installation on your concrete surface.
Applying Adhesive Properly
Start adhesive application in a 3×3 metre section to prevent premature drying. Spread polyurethane adhesive evenly using a 3mm V-notched trowel at a 45-degree angle, maintaining consistent coverage of 1.2-1.5kg per square metre. Create parallel ridges in the adhesive to ensure optimal contact between the rubber and concrete surfaces. Allow the adhesive to become tacky (15-20 minutes) before laying tiles.
Key application points:
- Mix adhesive thoroughly before application
- Work in manageable sections
- Maintain uniform thickness
- Check adhesive coverage regularly
- Replace worn trowel notches to ensure consistent application
- Keep workspace ventilated during adhesive application
Laying and Aligning the Rubber Tiles
Position tiles from the centre point outward using chalk lines as guides. Place each tile by lowering the corners first, then easing down the middle to prevent air pockets. Maintain 3mm expansion gaps around the perimeter using spacers.
Installation sequence:
- Start from centre point markers
- Align first tile perfectly with chalk lines
- Press firmly from centre outward
- Use 45kg roller after every 5-6 tiles
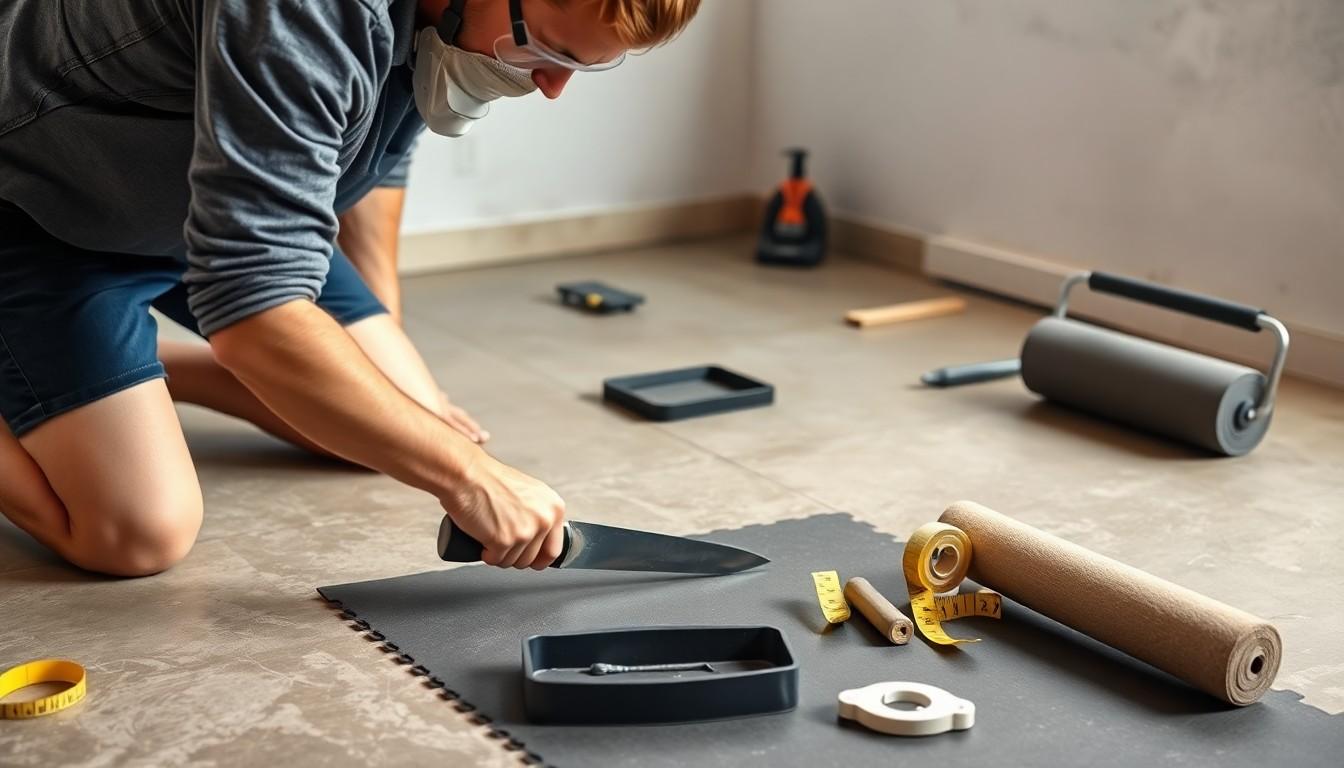
- Cut edge tiles using a utility knife
- Check alignment every 2-3 rows
- Remove adhesive residue immediately with mineral spirits
- Verify seam tightness
- Ensure consistent height between tiles
- Check for lifting corners
- Confirm proper adhesive transfer
- Maintain straight lines throughout installation
- Test floor stability after each section
Finishing Touches and Maintenance
The final steps of rubber flooring installation focus on sealing edges and establishing proper maintenance routines to maximise the flooring’s lifespan. These finishing touches ensure lasting protection against moisture infiltration and daily wear.
Sealing the Edges
Edge sealing creates a watertight barrier between the rubber flooring and concrete substrate. Apply a polyurethane sealant along all perimeter edges using a caulking gun with a 6mm bead. Press the sealant firmly into gaps between the flooring and walls with a putty knife. Allow the sealant to cure for 24 hours before exposing the area to foot traffic.
Key sealing points:
- Apply sealant in room corners
- Seal around door frames
- Protect transitions between different flooring types
- Fill gaps around fixed objects like support poles
Regular Care Instructions
Daily maintenance preserves the appearance and functionality of rubber flooring on concrete. Follow these cleaning protocols:
Routine cleaning:
- Sweep or vacuum daily to remove loose debris
- Damp mop weekly with pH-neutral cleaner
- Spot clean spills immediately with microfibre cloth
- Use rubber-safe disinfectants monthly
Preventive measures:
- Place entrance mats at doorways
- Install furniture protectors under heavy equipment
- Maintain room temperature between 18-24°C
- Keep relative humidity at 35-55%
| Task | Frequency |
|---|---|
| Sweep/vacuum | Daily |
| Damp mop | Weekly |
| Deep clean | Monthly |
| Inspect seals | Quarterly |
| Reseal edges | Annually |
Conclusion
Installing rubber flooring on concrete is a worthwhile investment that’ll transform your space with long-lasting durability and comfort. By following proper surface preparation techniques careful installation steps and regular maintenance you’ll create a professional-looking floor that serves you well for decades.
Remember that success lies in the details. Take your time with each step particularly during surface preparation and adhesive application. Your attention to these crucial elements will reward you with a stable comfortable and visually appealing floor that meets all your needs.
Armed with the right tools materials and knowledge you’re now ready to tackle this DIY project with confidence. Your new rubber flooring will provide years of reliable service while enhancing the functionality and value of your space.
Frequently Asked Questions
How long does rubber flooring last?
Rubber flooring typically lasts between 15-20 years with proper maintenance. Its exceptional durability makes it a long-term investment, particularly in high-traffic areas. The actual lifespan depends on usage patterns, maintenance routines, and environmental conditions.
Is rubber flooring suitable for concrete surfaces?
Yes, rubber flooring is an excellent choice for concrete surfaces. It provides effective insulation, shock absorption, and slip resistance whilst protecting the underlying concrete. The material adheres well to properly prepared concrete surfaces and can be installed in both residential and commercial settings.
What tools do I need to install rubber flooring?
Essential tools include an electric floor grinder, industrial vacuum cleaner, moisture meter, notched trowels, heavy rollers, and safety gear (dust masks and goggles). You’ll also need polyurethane adhesive and basic measuring tools. Most tools can be rented from local hardware shops.
How do I prepare concrete for rubber flooring installation?
Clean the concrete thoroughly, test for moisture (should be below 3%), repair any cracks, and ensure the surface is level. The concrete must be swept, scrubbed, and vacuumed. Check pH levels and conduct moisture emissions tests. Allow 24 hours for repairs to dry completely.
Is rubber flooring installation a DIY project?
Yes, installing rubber flooring can be a DIY project if you follow proper guidelines. Success depends on thorough surface preparation and precise installation techniques. However, larger spaces or complex installations might benefit from professional expertise.
How do I maintain rubber flooring?
Regular maintenance includes daily sweeping, weekly damp mopping, and periodic deep cleaning. Inspect seals regularly and reseal edges as needed. Clean spills promptly and use appropriate cleaning products. Avoid harsh chemicals that might damage the rubber surface.
Does rubber flooring reduce noise?
Yes, rubber flooring offers excellent sound dampening properties. It effectively reduces impact noise and echoes, making it ideal for gyms, playrooms, and commercial spaces where noise reduction is important.
What are the cost benefits of rubber flooring?
Rubber flooring offers long-term cost benefits through reduced maintenance needs, lower repair costs, and energy savings from improved insulation. Though initial installation costs might be higher than some alternatives, the extended lifespan makes it cost-effective.

