Maintaining your rubber flooring doesn’t have to be a headache when you know the right repair techniques. Whether it’s in your gym home gym commercial space or children’s play area rubber flooring offers durability and safety. But even the toughest surfaces can develop wear and tear over time.
From small tears to stubborn stains your rubber flooring might need attention to keep it looking and performing at its best. You’ll be pleased to know that most rubber flooring issues are fixable with the right tools and methods. We’ll walk you through proven repair solutions that’ll help extend your flooring’s lifespan and maintain its protective properties.
Key Takeaways
- Most rubber flooring damage occurs through tears, discolouration, and loose seams, with high-traffic areas being particularly vulnerable
- Essential repair tools include specialised adhesives (polyurethane and epoxy), proper cleaning supplies, and professional-grade application tools for effective repairs
- Small repairs can be DIY-friendly, costing £20-120, whilst professional repairs range from £80-400 depending on damage extent
- Professional intervention is necessary for damages exceeding 15 centimetres, multiple damaged areas, or when warranty preservation is required
- Regular maintenance, including twice-daily sweeping and immediate spill clean-up using pH-neutral cleaners, can extend flooring lifespan to 20 years
- Preventive measures like protective pads, walk-off mats, and controlled room temperatures significantly reduce damage risk
Common Types of Rubber Flooring Damage
Rubber flooring experiences distinct forms of damage through regular use in high-traffic areas. These damages affect both the aesthetic appeal and functional properties of the flooring surface.
Tears and Splits
Rubber flooring tears manifest as visible ruptures in the material’s surface from heavy equipment impacts or sharp objects. Common tear types include:
- Linear splits from dragging heavy objects
- Corner tears near doorways or transitions
- Impact punctures from dropped weights
- Edge separation along wall joints
- Stress cracks in high-traffic zones
Surface Discolouration
Discolouration occurs on rubber flooring through various environmental factors and chemical exposure:
- UV ray exposure causing fading in sunlit areas
- Chemical stains from cleaning products
- Oil marks from equipment or footwear
- Rubber yellowing from oxidation
- Water damage spots from trapped moisture
- Edge lifting at connection points
- Gap formation between tiles
- Adhesive breakdown under heavy traffic
- Corner curling from moisture exposure
- Separation at wall boundaries
| Damage Type | Common Locations | Primary Causes |
|---|---|---|
| Tears | Doorways, Equipment Areas | Impact, Dragging |
| Discolouration | Windows, Cleaning Zones | UV, Chemicals |
| Loose Seams | High Traffic Areas | Wear, Moisture |
Essential Tools and Materials for Repair

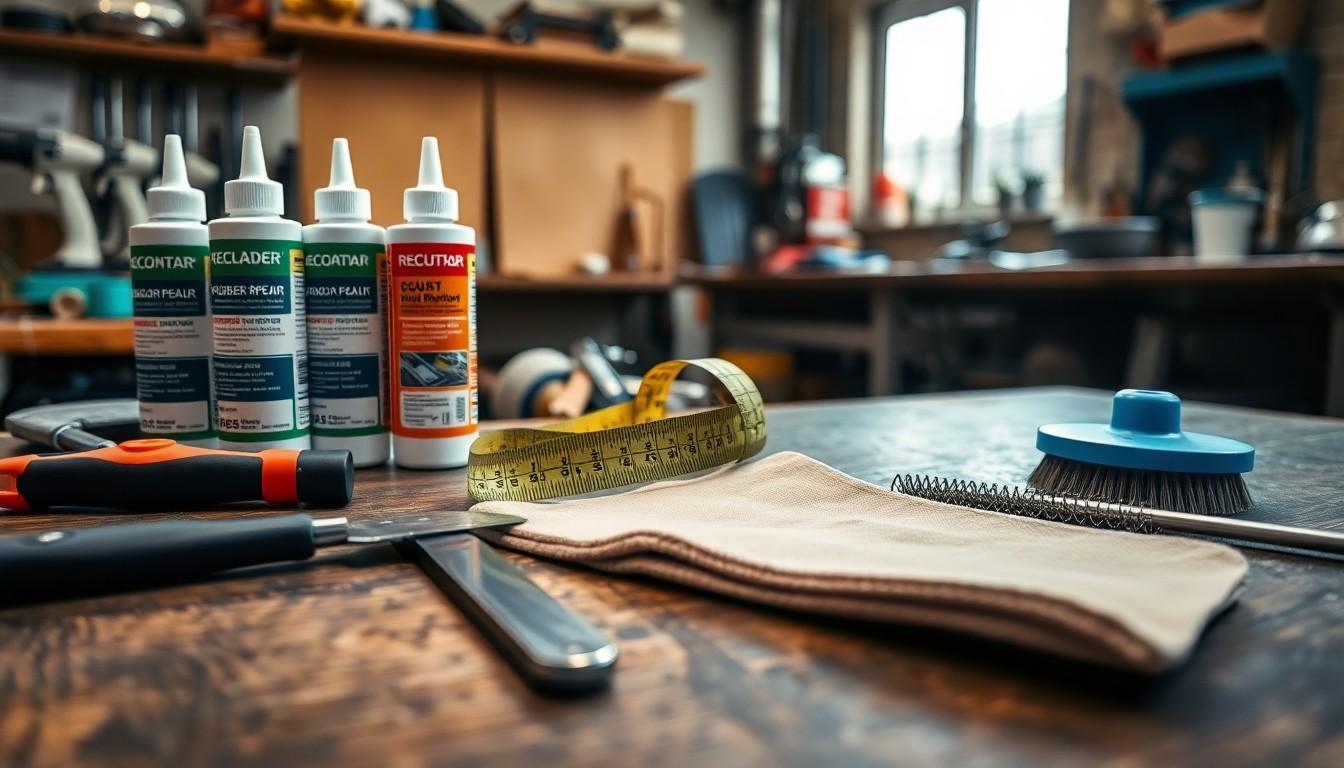
Proper rubber flooring repairs require specific tools and materials designed for elastomeric surfaces. These supplies ensure effective repairs while maintaining the floor’s integrity and appearance.
Repair Adhesives and Compounds
Professional rubber flooring repairs demand specialised adhesives and compounds:
- Polyurethane adhesive for bonding seams and edges
- Two-part epoxy filler for deep cracks and holes
- Liquid rubber patches for surface-level tears
- Vulcanising cement for seamless rubber joints
- Color-matching repair compound for visible damage spots
Storage requirements for adhesives:
| Material | Temperature | Shelf Life |
|---|---|---|
| Polyurethane | 10-25°C | 12 months |
| Epoxy | 15-20°C | 24 months |
| Liquid rubber | 5-30°C | 6 months |
Cleaning Supplies
Essential cleaning materials for proper repair preparation include:
- Isopropyl alcohol for surface decontamination
- Heavy-duty rubber cleaner for stubborn stains
- Microfibre cloths for residue-free cleaning
- Wire brush for surface preparation
- Industrial vacuum for debris removal
- Lint-free rags for adhesive application
- pH-neutral cleaner for final cleaning
- Sharp utility knife with spare blades
- Steel straightedge for precise cuts
- Measuring tape for accurate patch sizing
- Rubber trowel for adhesive spreading
- Heat gun for material manipulation
- Heavy roller for bubble-free application
Step-by-Step Repair Techniques

Repairing rubber flooring requires precise techniques to ensure long-lasting results. Each repair method addresses specific types of damage while maintaining the floor’s protective properties.
Patching Small Holes
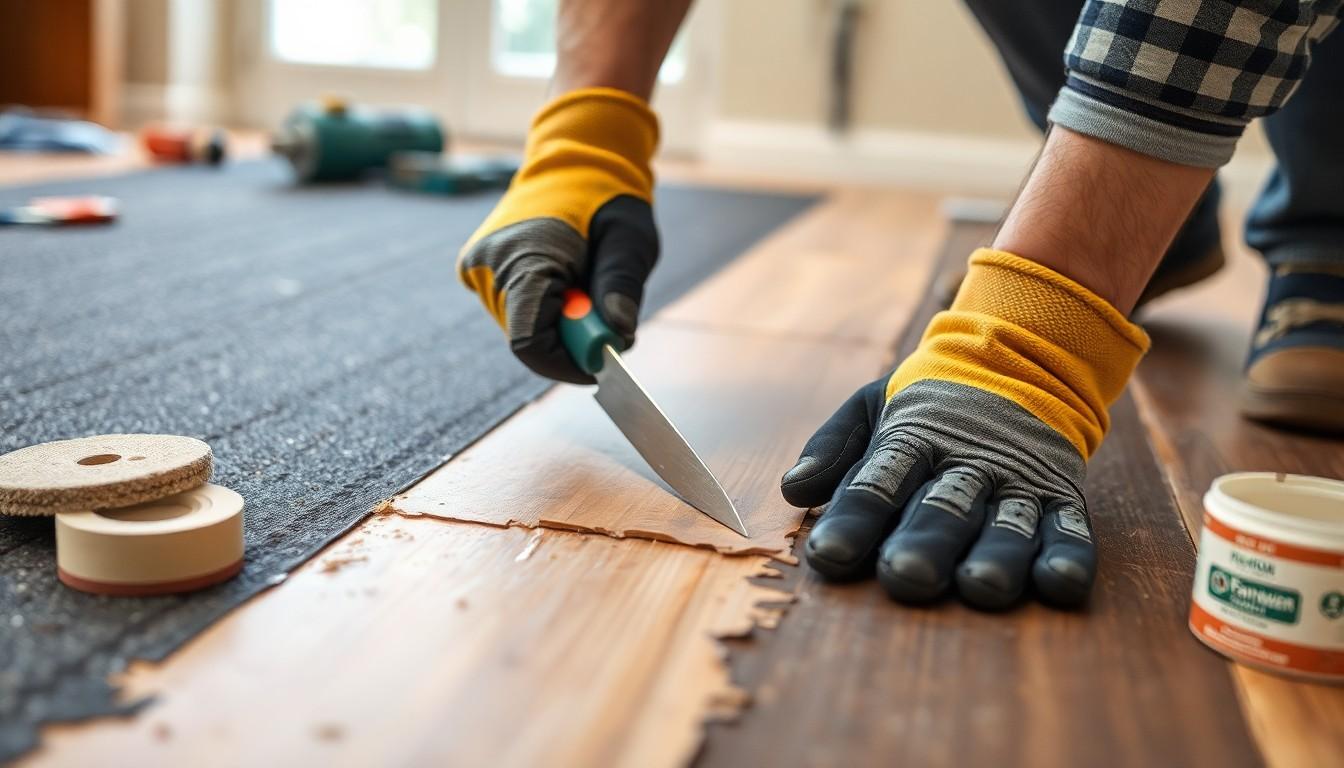
Small hole repair starts with thorough surface preparation. Clean the damaged area with isopropyl alcohol to remove dirt debris. Cut away loose or frayed edges using a sharp utility knife at a 45-degree angle. Apply rubber patching compound in thin layers building up to the surface level. Let each layer cure for 30 minutes before adding the next. Sand the final layer flush with surrounding flooring using 120-grit sandpaper.
Fixing Loose Edges
Edge repair focuses on proper adhesive application bonding. Remove old adhesive residue using a scraper putty knife. Clean both the floor edge subfloor with heavy-duty rubber cleaner. Apply polyurethane adhesive in a continuous bead along the edge. Press the loose section firmly into place. Place heavy weights along the edge for 24 hours during curing. Remove excess adhesive immediately with mineral spirits.
Seam Repair Methods
Seam repairs demand precise alignment careful bonding techniques. Clean both edges thoroughly with isopropyl alcohol. Apply seam sealer evenly along both edges using an applicator bottle. Press edges together firmly ensuring proper alignment. Place seam tape underneath the joint for additional support. Roll the seam with a hand roller to remove air bubbles. Install weights across the seam keep pressure constant during the 48-hour curing period.
| Repair Type | Curing Time | Required Tools |
|---|---|---|
| Small Holes | 30 mins per layer | Utility knife sandpaper |
| Loose Edges | 24 hours | Scraper putty knife weights |
| Seams | 48 hours | Seam roller tape weights |
Professional vs DIY Rubber Floor Repairs
Rubber flooring repairs involve varying levels of complexity that determine whether professional intervention is necessary or a DIY approach suffices. The choice between professional repair services and self-repair methods depends on factors such as damage extent damage type and repair expertise.
When to Call an Expert
Professional repair services are essential for:
- Deep structural damage extending beyond the surface layer
- Large tears exceeding 15 centimetres in length
- Multiple damaged areas requiring uniform repair techniques
- Specialised rubber flooring types like vulcanised rubber
- Water damage affecting the subfloor integrity
- Commercial installations requiring warranty preservation
Expert intervention ensures:
- Access to industrial-grade repair materials
- Professional-grade tools and equipment
- Colour matching expertise for seamless repairs
- Compliance with manufacturer specifications
- Guaranteed workmanship standards
| Repair Type | DIY Cost Range (£) | Professional Cost Range (£) |
|---|---|---|
| Small tears | 20-50 | 80-150 |
| Edge repairs | 30-70 | 100-200 |
| Seam fixing | 40-90 | 150-250 |
| Large patches | 60-120 | 200-400 |
DIY repair advantages include:
- Lower immediate costs for materials and tools
- Flexibility in repair timing
- No labour charges
- Quick fixes for minor issues
- Long-term durability of repairs
- Prevention of secondary damage
- Time savings for facility operations
- Access to bulk material pricing
- Proper documentation for insurance purposes
Preventive Maintenance Tips
Regular maintenance extends rubber flooring lifespan up to 20 years when performed correctly. These preventive measures protect your investment through daily care routines and damage prevention strategies.
Daily Care Routine
- Sweep floors twice daily using a soft-bristled broom to remove dirt particles grit & debris
- Clean spills immediately with a damp microfibre mop to prevent staining
- Use pH-neutral cleaners specifically formulated for rubber surfaces
- Vacuum walk-off mats at entrances to reduce tracked-in dirt
- Inspect seams edges & corners during cleaning for early damage detection
- Document cleaning activities in a maintenance log for warranty compliance
| Cleaning Task | Frequency | Tools Required |
|---|---|---|
| Sweeping | 2x daily | Soft-bristled broom |
| Spot cleaning | As needed | Microfibre mop |
| Deep cleaning | Weekly | pH-neutral cleaner |
| Mat maintenance | Daily | Vacuum cleaner |
- Install protective pads under heavy equipment contact points
- Use designated pathways for wheeled equipment transport
- Place walk-off mats at all entrances spanning 3-4 metres
- Maintain stable room temperature between 18-24°C
- Keep direct sunlight exposure under 4 hours daily using window treatments
- Remove sharp objects & high heels in exercise areas
- Apply protective coating every 12 months in high-traffic zones
- Schedule professional inspections every 6 months
| Prevention Measure | Implementation Area | Benefit |
|---|---|---|
| Protective pads | Equipment zones | Prevents indentation |
| Walk-off mats | Entrances | Reduces dirt transfer |
| Temperature control | Entire space | Prevents expansion |
| UV protection | Window areas | Prevents fading |
Conclusion
Taking care of your rubber flooring doesn’t need to be a challenging job. With the right tools materials and techniques you can effectively repair most common issues and extend your flooring’s lifespan. Whether you choose to tackle repairs yourself or seek professional help the key is to address problems promptly before they worsen.
Remember that prevention is just as important as repair. By implementing a solid maintenance routine and following the recommended care guidelines you’ll protect your investment and maintain a safe attractive surface for years to come. Your rubber flooring can continue serving its purpose effectively while looking great with proper attention and care.
Frequently Asked Questions
How long does rubber flooring typically last?
With proper maintenance and care, rubber flooring can last up to 20 years. Regular cleaning, prompt repairs and preventive measures significantly extend its lifespan. However, high-traffic areas may show wear earlier and require more frequent maintenance.
Can I repair small tears in rubber flooring myself?
Yes, small tears can be repaired using DIY methods. You’ll need specialised adhesives and compounds like polyurethane adhesive or liquid rubber patches. However, larger tears or structural damage should be handled by professionals to ensure proper repair.
What cleaning products are safe for rubber flooring?
pH-neutral cleaners are safest for rubber flooring. Avoid harsh chemicals, bleach, or abrasive cleaners as they can damage the surface. Use a mild detergent solution for daily cleaning and always follow manufacturer guidelines for specific cleaning products.
How often should rubber flooring be professionally inspected?
Professional inspections are recommended annually to identify potential issues early. However, high-traffic commercial spaces or gym areas may require bi-annual inspections to maintain safety standards and prevent major repairs.
What causes rubber flooring to lift at the edges?
Edge lifting typically occurs due to moisture exposure, improper installation, or adhesive failure. Environmental factors like temperature fluctuations and heavy traffic near edges can also contribute to this issue. Prompt attention to lifted edges prevents further damage.
Is it necessary to replace the entire floor if one section is damaged?
No, individual sections can often be repaired or replaced without affecting the entire floor. However, this depends on the extent of damage, flooring type, and installation method. Professional assessment can determine the most cost-effective solution.
How can I prevent damage to rubber flooring?
Install protective pads under heavy equipment, use walk-off mats at entrances, maintain stable room temperatures, and clean spills immediately. Regular cleaning and proper weight distribution of equipment also help prevent damage.
What’s the cost difference between DIY and professional repairs?
DIY repairs typically cost £20-£100 for materials, while professional repairs range from £200-£1000 depending on damage extent. Though DIY is cheaper, professional repairs often provide longer-lasting results and manufacturer warranty compliance.

